")
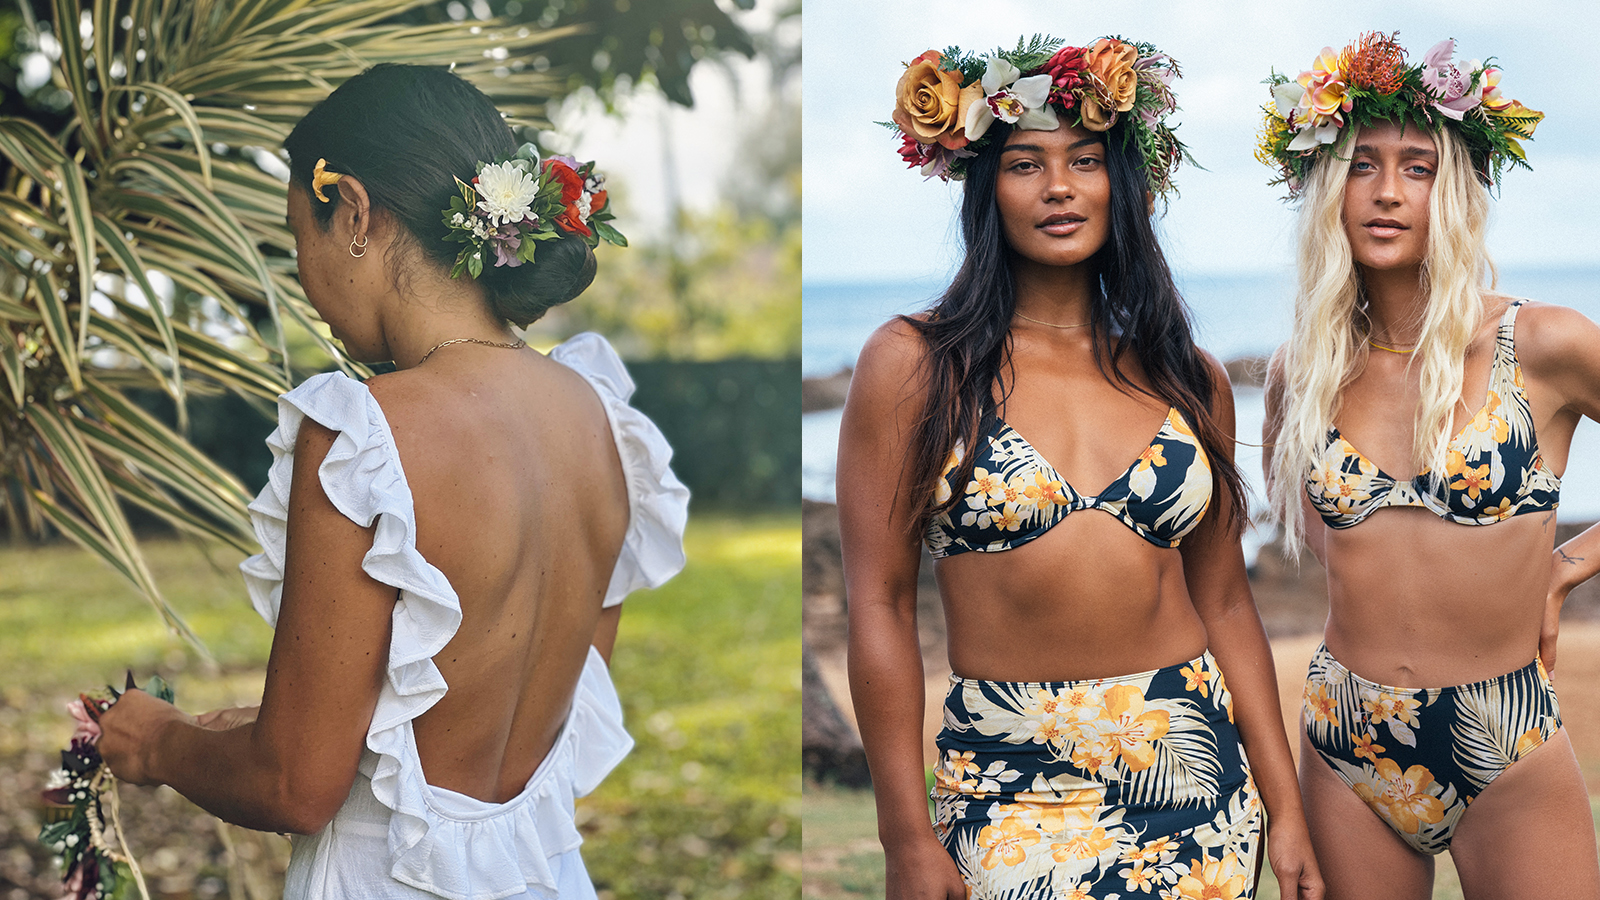
Haku Lei also known as Lei Po’o are interchangeable terms that describe a lei that is worn on the head. In Hawaiian, “po'o” means “head,” so a lei po'o is a “head lei.” Lei Haku is actually a braided or woven lei, where flowers and/or ferns are braided or woven to keep in place. Wili means “to twist.” This is the most popular style to make lei po’o. A strand of raffia or ti leaf secures flowers and ferns to a backing. Below is a tutorial on how to make your own Lei Po’o using the Wili method in a few simple steps.
Materials:
- Raffia
- Scissors or plant sheers
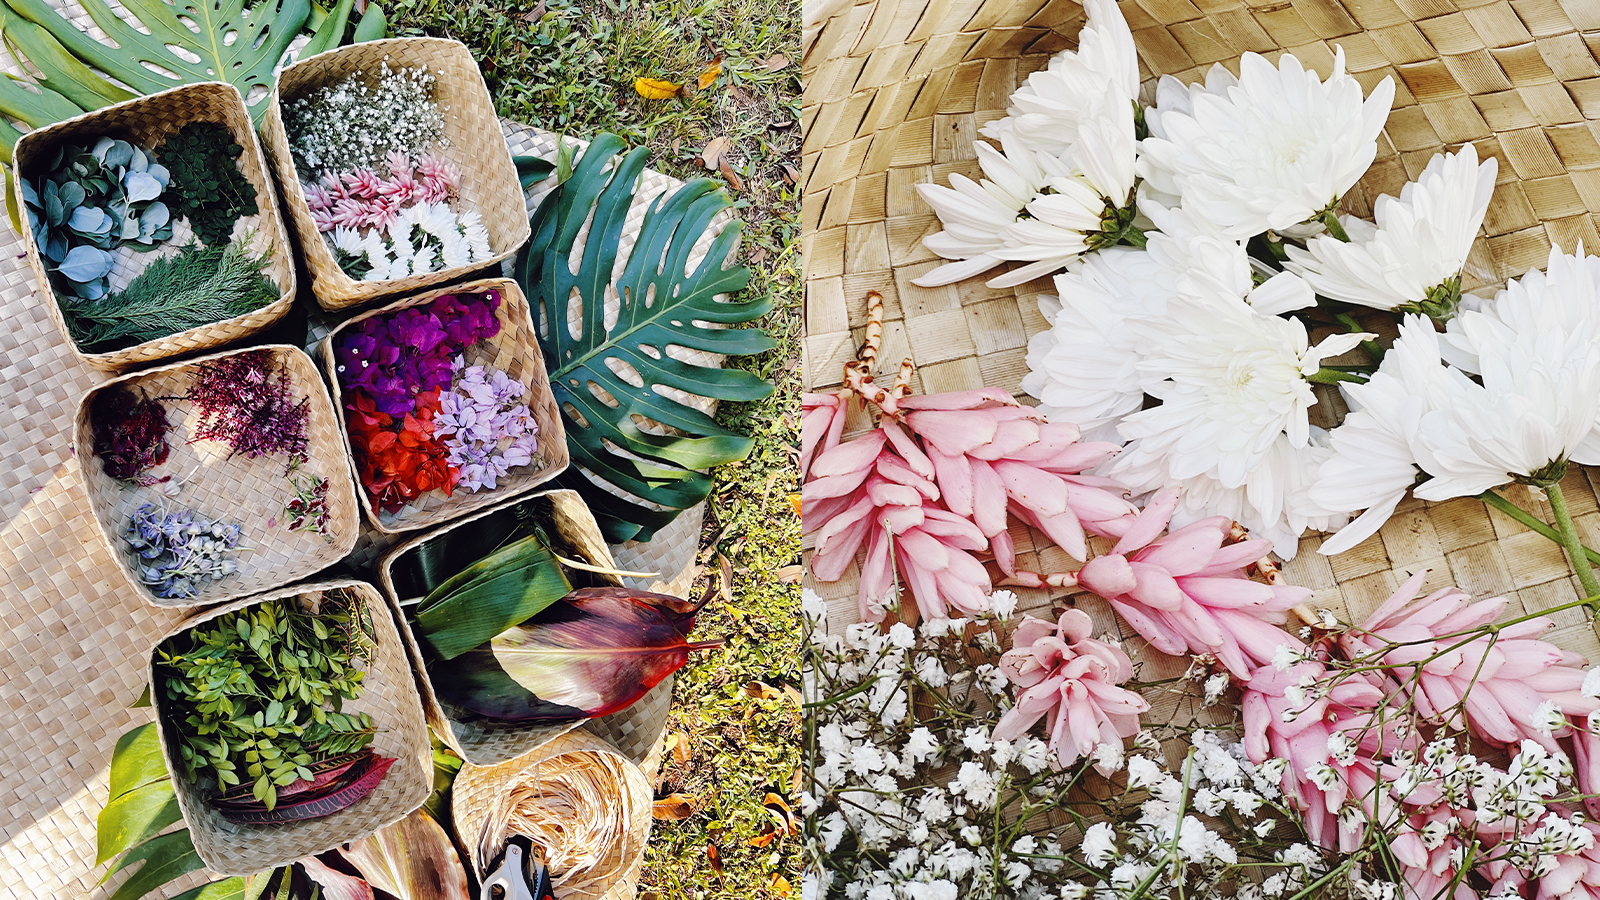
- Several different types of flowers (make sure they aren’t too heavy). Choose some hearty greens, flowers and filler plants. Get creative with what you have in your yard or neighborhood.
- Water bottle spritzer
Prepare your lei materials:
-Cut flora and greens into smaller pieces
-Remove leaves and flowers from the lower portion of each stem (ideal stem length is 3 inches)
Prepare spine of the lei:
-Use about 6 strands of raffia
-Measure the wearer's head and leave an extra 10 inches (5 in. on each side)
-Tie a knot and start braiding the raffia to the end and tie off at the bottom
-Alternatively, you can braid just the top 5 inches and then start wrapping the flowers with a piece of the existing raffia (spray raffia with some water-it will get stronger as it dries) and braid the remaining 5 inches when finished. (as shown in photos here)

Adding flora and greens to lei:
-Place several pieces of flora about 5 inches down onto the braided raffia, holding the stems secure against the braided raffia with your fingers
-Use a piece of wet raffia to wrap around the stems of the flora and the braid. Wrap very tightly about 4 times around. Continue adding a few pieces of flora and greens depending on what pattern you want and wrapping with the raffia
-Stop adding flora once you have about 5 inches left
Tying off the lei:
-Tie a knot as securely as possible. The tighter the knot the better.
Congrats you just made a Lei Po’o using the Wili technique! Try using different types of flowers and greenery and making different patterns. These make great gifts for any type of celebration.