
Our latest #BillabongxSincerelyJules collection that we designed with @SincerelyJules, is inspired by her zest for life and a reflection of her unapologenically feminine yet classically cool style. Designed with softly spoken palettes and kicks of island brights that transport you to an idyllic tropical destination...where anything is possible!
Get ready to say "shell yeah!" and channel your inner beach bliss and create your own beach bracelet (or two) that is unique to your personal style. This simple and trendy DIY is sure to upgrade your arm party and pair perfectly with your bikini all summer long.

For this DIY you'll need:
- A cowrie shell
- A yard of chinese knotting cord
- Two 1mm beads of your choosing
- One small tassel
- Scissors

Start by cutting a yard of the knotting cord.
First, take your cowrie shell and thread half of the knotting cord through one end of the cowrie bringing the other end of the cord across the middle section of the shell so you can slip the ends of the cord through the loop.
Next, pull the cords through the loop and pull with even pressure to secure. Repeat this step on the other side of the cowrie shell with the remaining string.
After your cowrie shell is secured in the middle of your bracelet, slide one bead on each side of the shell and add knot on each side to secure. Add your tassel onto either side of the bracelet securing the ring of the tassel with a knot.
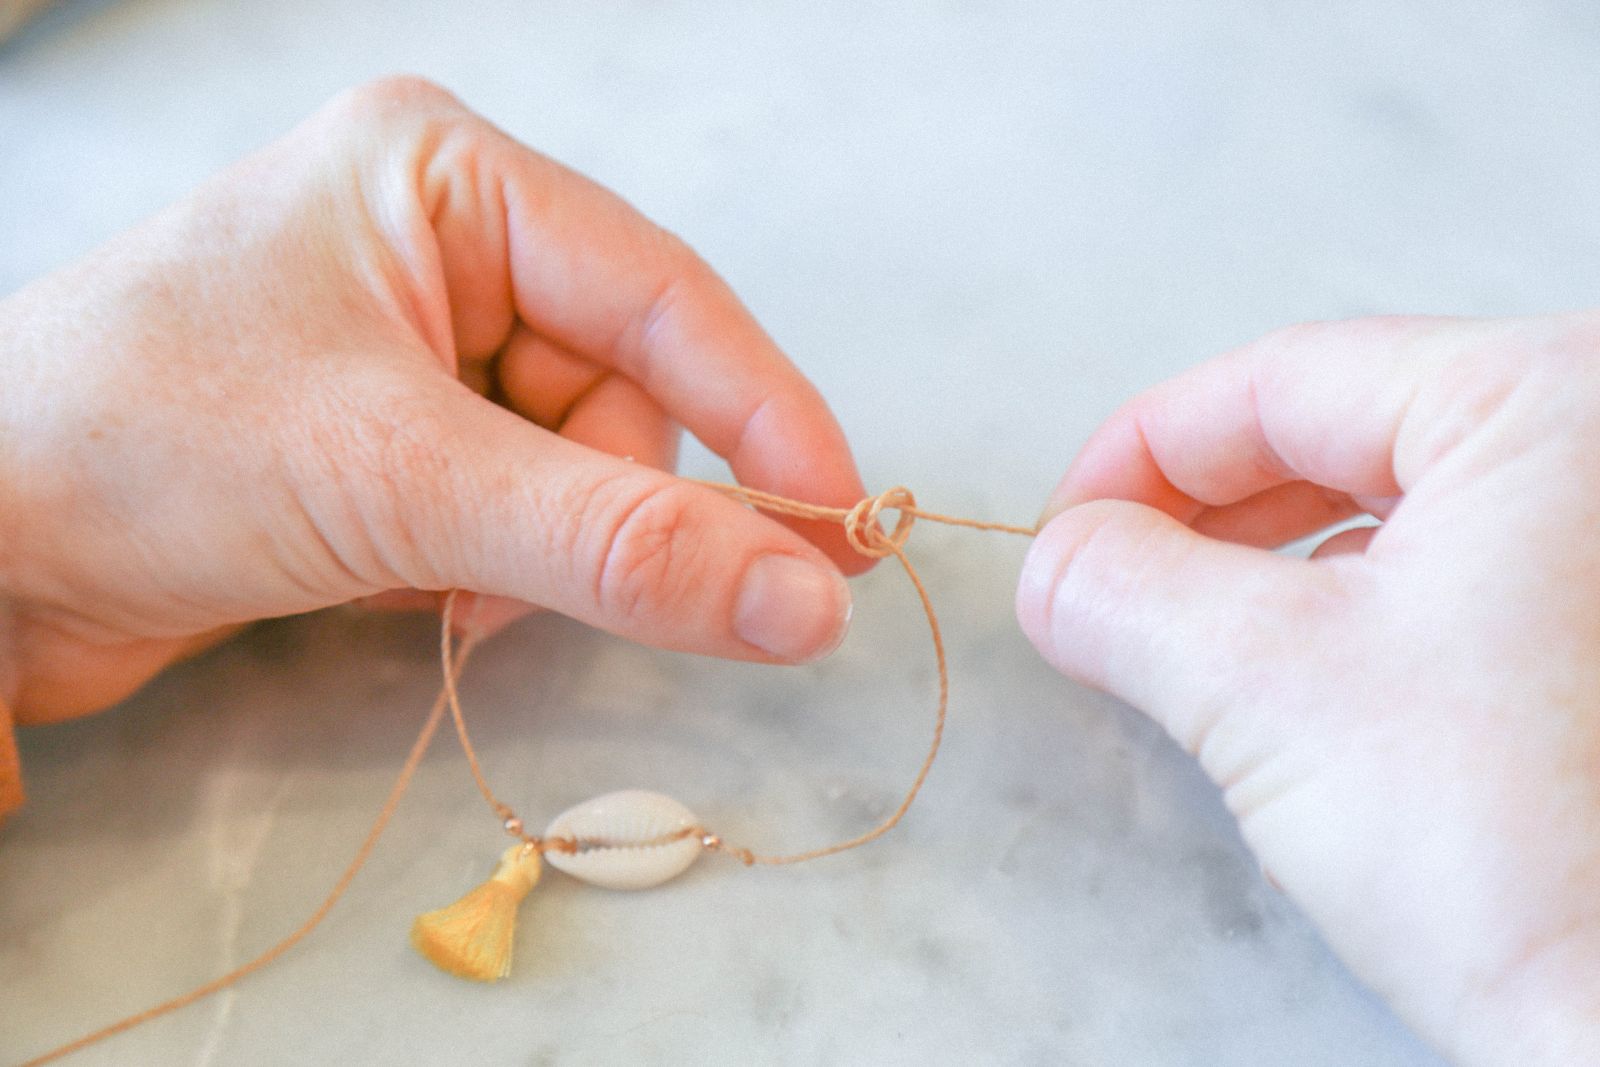
To create the sliding knot to adjust the size of your bracelet, start by crossing the left cord over the right cord.

Thread the left cord around and under so that it is coming back towards you and then thread the cord back over to create a loop.

Repeat this process to create two loops - try to ensure your second loop is to the left of your first loop.
Follow this step by threading the end of the cord through the loops and pull the cord so the loops close tight.
Repeat this process with the other end of the cord and cut off any excess cord as close to the knot as possible.
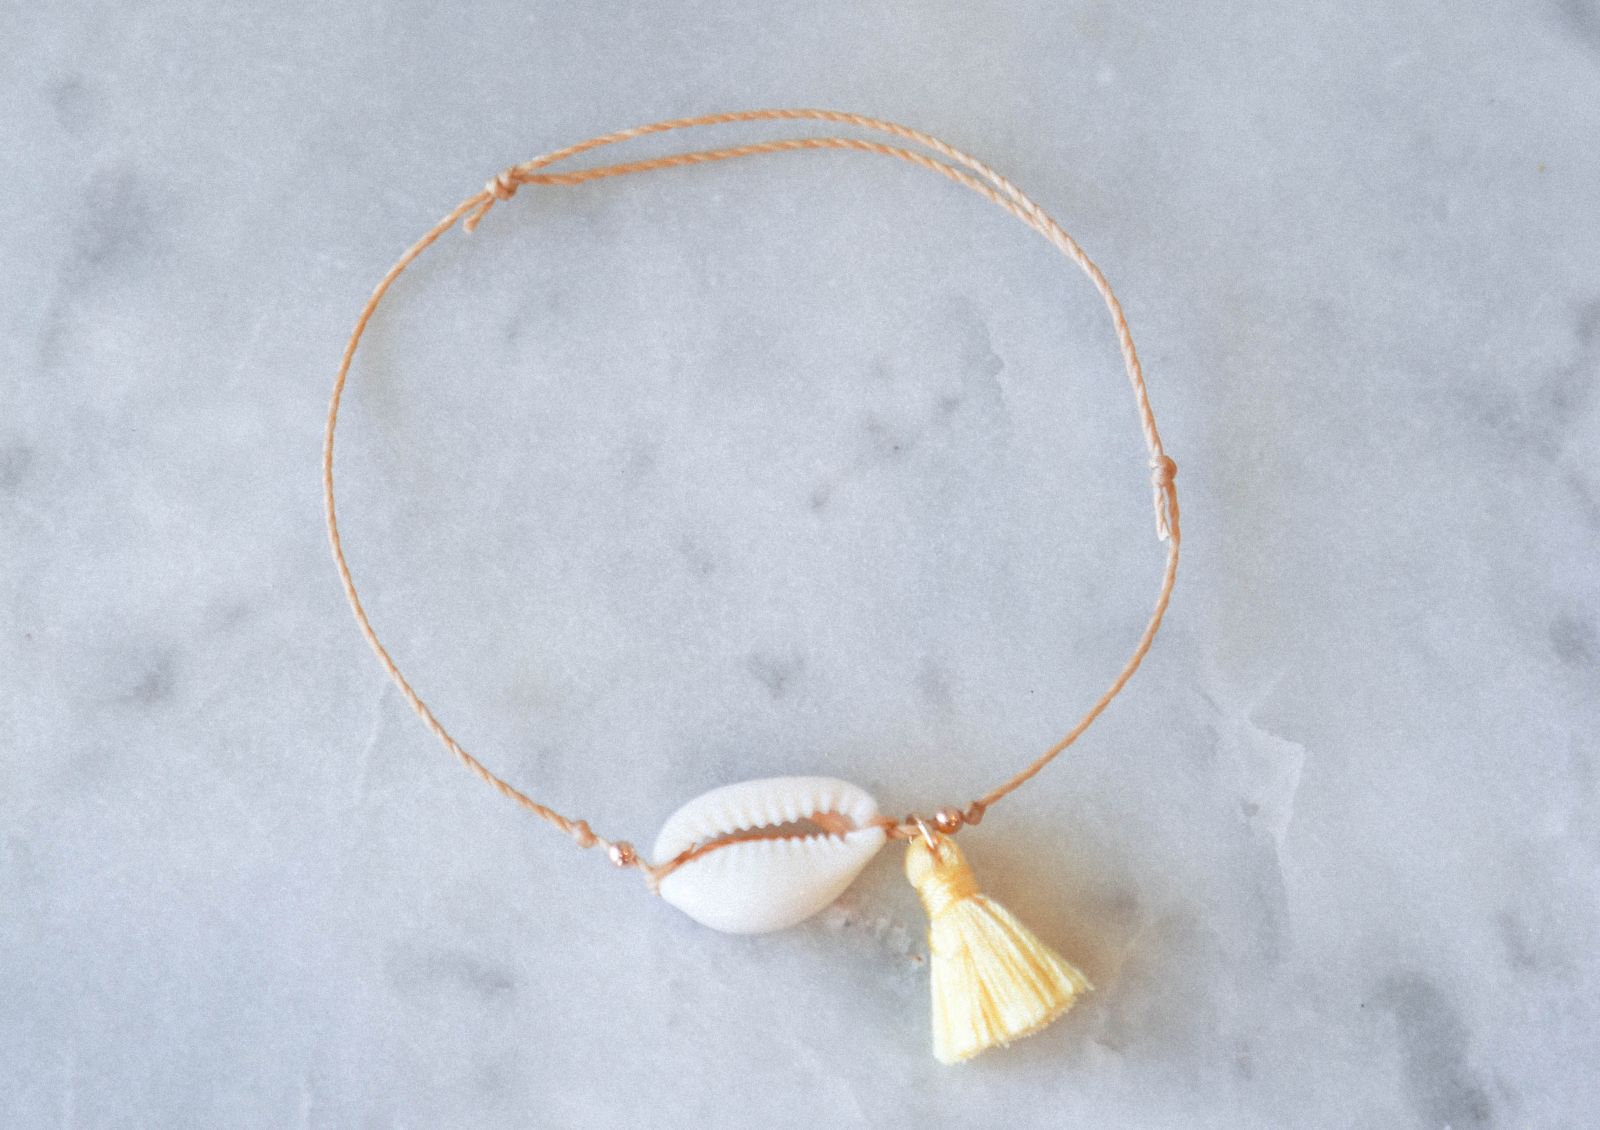
Viola, your shell bracelet is complete!